Showing posts with label epoxy. Show all posts

New Boat Vocabulary Word: Coaming

One of the smarter things I've done on the shantyboat, was to add a coaming around the edge of the cabin. A new vocab word for me as I slowly get all nautical during the one plus year shantyboat build:

coam·ing  

/ˈkōmiNG/
Noun
  1. A raised border around a ship's hatch serving to support the hatch covers and to keep out water.
  2. A similar structure around the cockpit of a boat.
The Glen-L Waterlodge plans didn't call for a coaming, since Glen's cabin design was significantly different, and he wasn't nutty enough to consider board and batten as a cabin exterior material.

Take a look again at my wall cutaway diagram:


The coaming is the board labeled "edgeboard" against the inside edge of the side framing member.  My goal was to make sure that if water splashed up on the exterior board and batten, that it would not easily get into the boat, more so because I plan to fiberglass right up to and over the coaming.

Here's what it looked like without the coaming.


I had the lumberyard rip a few 2x6s edgewise to create the coaming. 


Of course, I epoxied and screwed it into place.


Later when we fiberglass the decks, we will create a curved filet at the inside corner and curve the fiberglass up over the coaming.

For some reason it strikes me as unusually handsome and boaty.


Obsessive woodworking, top side

With both decks on, I could be an obsessive woodworker again.


First I shimmed up any really large gaps with thin pieces of wood, epoxying them on. Then I routed all the edges.


Once I sanded down the bumps and the previous coat of fiberglass, there were still some larger structural gaps that I wanted to fill with thickened epoxy.


Some of my epoxy kicked off Before Its Time with billows of smoke. Exciting.


I filled the small spaces and the screw holes with latex wood filler. Filling small cracks is more than aesthetic, when the fiberglass goes over the decks, any cracks or spaces will create air pockets behind the fiberglass. That's bad.


Then I sanded everything smooth as butter with an orbital sander. Fancy.

Installing the aft deck

I put the aft deck on. Thought you should know.


There were some awkward places in the aft section of the boat where the stringers didn't quite line up. One stringer dipped lower than the rest. So I had to add on little thin wedges of wood to the tops of the members. I am a madman with a circ saw and often do ridiculously fine cuts with this not-so-precise tool. Cut, epoxy, attack with the belt sander.


Voila! You'd never even know. Definitely not once the deck is on.


Putting the actual deck on was a breeze. You only get photos of the finished results, because what used to worry the hell out of me, mixing up epoxy, brushing both sides, mixing up a thicker batch, applying that to the structural members, and then applying stainless steel screws every six inches to the plywood is really no big deal these days.  I did it alone and it was done before I even had a chance to take any photos.


Notice the brilliant bow in the center of the deck? That's part of the Glen-L design to allow water to run off.

I know I still have to get under there to bolt in the motor well (and the stern tie-downs), but my excitement got the better of me.


It totally paid off: Hazel and I have already sat on the back deck enjoying lunch and a well-deserved beer in the shade of the willows.


Things organized neatly.

Motor Well, A Mini-Project Unto Itself

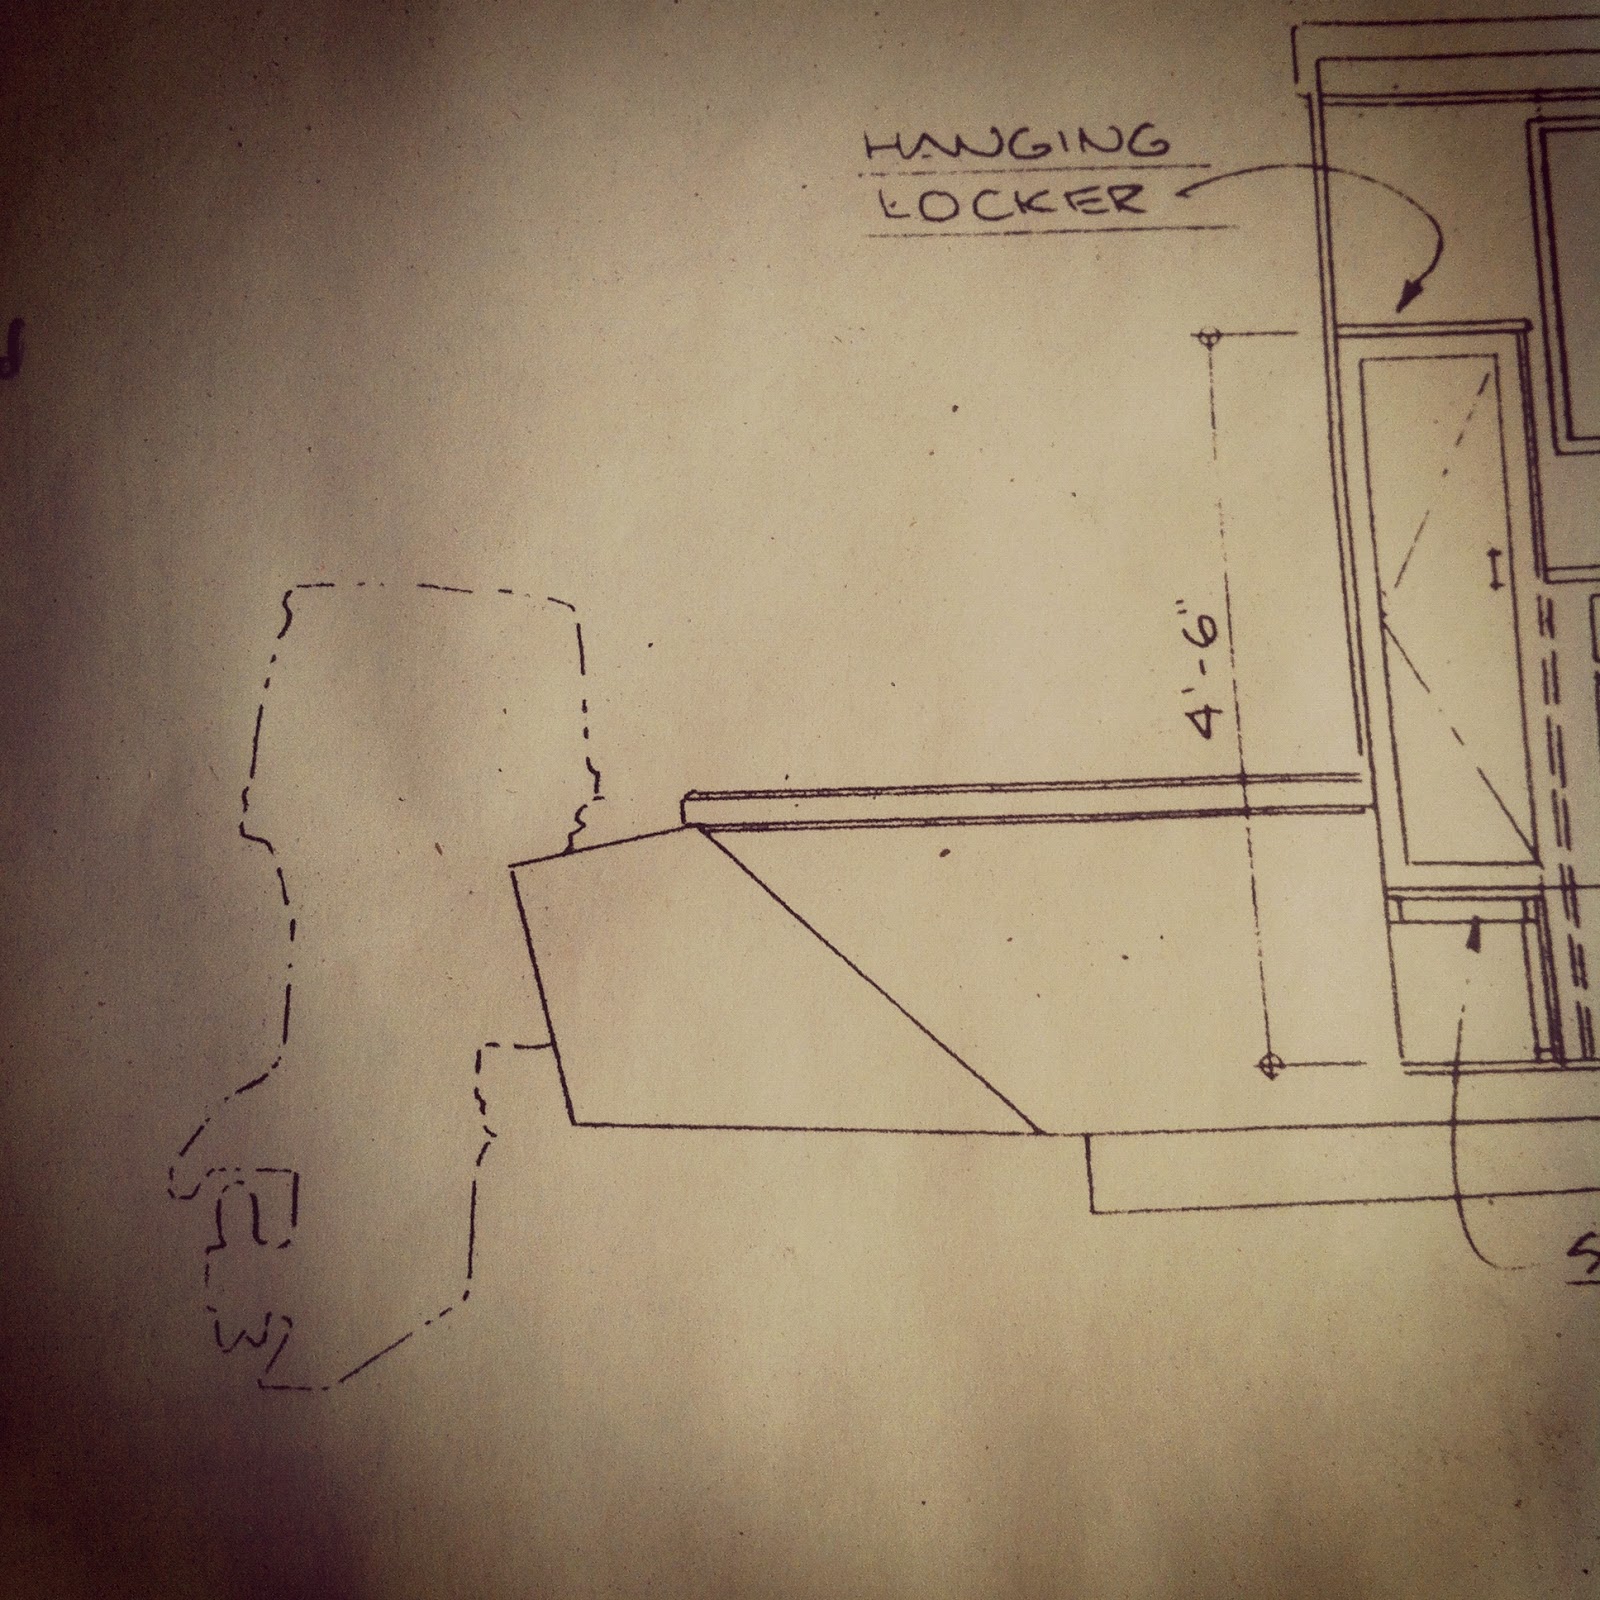
Oh, the motor well.  Seems simple enough.  Build a box that bolts to the back of the boat, upon which the motor clamps.

I've been working on the motor well since the days of the Troublesome Skegs and before the Boat Flip.

Turns out that though this earns only a brief paragraph in the Glen-L Waterlodge instructions, it is really quite time consuming.


And though the motor well shows up on various views in the plans three times, it still leaves a lot of unspecified dimensions. Despite a lot of fancy maths including tangents and the Pythagorean theorem my first effort to suss out the missing dimensions and angles was a loose collection of mismatched angles and incorrectly cut two-by stock.


The challenge of the motor well is that there are few right angles, several that are very close, but not quite 90 degrees, several similar obtuse angles and some crazy acute angles. The difficulty lies in translating perfectly good angles and lengths to actual measurements and cuts.


My second attempt -- salvaging as much of the previously cut wood as I could -- discarded the mathematical approach and did it the way a carpenter would. Rather than cutting the two-by stock first, I marked out the known angles and measurements on plywood, solving the unknowns as I went along.  I cut out the 5/8" plywood giving me a useful template that would be used for the sides of the motor well.  Finally, I measured and marked the two-by members to match the template. Magic!


After fitting everything best I could, I epoxied everything together to give me two assembled sides to the motor well.


This was a logistical challenge similar to assembling the side stringers -- you want to align the two-by members facing up, but the screws need to go in from the other side.  In this case, the motor well sides were small enough I could assemble the two-by members facing up on saw horses, then put a few screws in from the bottom to hold them together.


After that, I flipped them over and screwed the shit out of them.  All done while everything -- drill, screws, wood, hands -- are covered in sticky goo. Fun!


I completely encapsulated the wood inside the motor well with epoxy to protect it from decay.


I know from experience assembling boxes, it is easy to discover in the end that you've created a parallelogram that doesn't fit your last side.  How to prevent this?


I temporarily screwed the bottom on the motor well to square up the sides before assembling the rest of the box.  I'm using wax paper to prevent the epoxy from accidentally adhering the bottom.  In fact, the bottom won't go on until after the motor well is already bolted on to the hull to allow me access to the bolts.


Now, I can go ahead and epoxy and screw on the back and the framing members.


We have to bolt this thing in with 5/8 carriage bolts no greater than six inches apart.  Turns out that's a lot, really.


I marked the bolt holes and drilled from the outside of the motor well using a carpenter's square to get holes perpendicular to the rake of the hull.


Sixteen bolts for this 2 foot square box hanging off the back of the boat.


The heads of some of the carriage bolts would fall on angled members, and so needed to be countersunk.


I needed to temporarily hang this thing so I can mark the bolt holes on the hull.  I built a little support jig that took into account the missing bottom piece.


Here is the motor well on the boat.  Fancy.


Using a wax china pencil, I marked the bolt holes for mounting the motor well.


It seemed like madness to drill 16 holes in my previously watertight boat hull.  Soon, we'll finish the outside of the motor well and bolt it on.

A Front Deck and Photos of an Adorable Puppy

First off, now that the boat is upright, I made Hazel a ramp so she can go in and out of the boat while I'm working.


Next, I put the front deck on.  There are probably things I need to do under there that would be easier without the deck, but my excitement trumps good planning. I know I still need to bolt in the motor well/mount, so the back deck stays off for now.


If you are following this blog, you've read through the stressful process of using epoxy resin to adhere the boat members together, so I'll skip the narrative blow by blow. Just remember, dealing with epoxy is like defusing a ticking time bomb.


So having our first deck on the boat allows Hazel and I to enjoy a much deserved sunny lay-about.


Fiberglass Bond Coat

Okay, so let's review.

Fiberglass (of more accurately glass-fiber reinforced plastic) is a composite laminate of hardening plastic goo reinforced with Ziggy Stardust-esque silvery spun glass fabric.  We have already applied the "seal coat" and need another several layers before we're done.  I found the Glen-L instructions for applying fiberglass for you.  This is pretty much what we used.


Here's the application sequence for the "dry method:"
  1. Seal Coat - seals the wood surface prior to applying the cloth
  2. Bond Coat - used to wet out and bond the cloth to the surface
  3. Fill Coat - fills the weave of the cloth
  4. "Finish" Coat - provides enough resin build-up for final sanding and finishing
  5. Aren't We Done Yet? Coat - enough epoxy hopefully to hide the texture of the cloth
  6. Seriously, This Is The Last Coat - finally enough to more or less completely hide the texture underneath
And then after that we have to protect it like a new born baby from dangerous UV rays with paint or varnish.  We'll do varnish.


We agonized over this day for weeks.  We thought it would be stressful and it did not disappoint.  We enlisted the help of Jen to complete our three person team.  This was one of those days we talked a lot about The Plan and worked out roles beforehand.  Kai was the epoxy mixer (and later the touch-up person).  Jen was the epoxy applier/roller/splooger.  And I was the smoother downer/problem fixer/epoxy redistributor. 


All summer, it had been ridiculously hot and sunny.  But the day we chose to do the stressy bond coat, the sky threatened to rain and spit occasional little dribblets on us.  Grrr. 


We stapled the cloth in place to the hull smoothing out the wrinkles best we could.  Though the instructions suggested removing staples before the cure, we found it was better to wait until the epoxy was completely cured before removing the staples lest you pull up the cloth.  Note that putting the staples in, we were careful to make sure they stuck out enough to allow them to be easily pried up with a screwdriver.


The Glen-L instructions suggested that for places where the cloth met it be double-lapped with tapered edges tapered.  That is, lay one layer of cloth, sanding the edge to a taper after it cures.  Then lay the other layer of cloth overlapping, and then sand that other edge after it cures.  That meant that since we couldn't do the overlap in one day, we needed at least two days to finish the bond coat.  


So we got all clever and did half of the bottom and one side on Day One.  Then the other half and other side on Day Two.


Each of us had a set of tools.  Kai used the usual measured containers and an endless supply of stir sticks.  Jen used a dense foam roller with a long handle.  And I used a wide trowel and a fiberglass roller that I handmade with alternating-sized washers and a paint roller.  My job was to go behind Jen and trowel any pools of excess resin into areas that needed more of it, and then roll down the stubborn cloth that had bubbles or warbles in it with the roller.


The magic of this process is that as soon as the glass cloth is covered with wet resin it turns transparent.  So it is easy to see if you've applied enough resin to wet it out.  Here I'll interject a warning:

Do not skimp on resin during the bond coat.  Make sure every bit of the fiberglass cloth is wetted out and transparent.  The next coat WILL NOT cover any areas that got too little resin.

We had some spots like this.  We learned the hard way.  Take a look at the very edge of the corner on the photo above.  Tiny but still irritating.  These places where there are air bubbles behind the fiberglass are potential places for air and moisture to gather and rot to form.


However, other blemishes, like little bits of resin-saturated glass fiber that stuck out (got snagged by my trowel in many cases) or awkward corners, were easy enough to sand down and resin over in the next layer.


In general, places we had worried about, particularly the seams looked great.  After they cured I would have to sand them down in preparation for the next layer.


After this first bond coat layer cured overnight, we sanded down any wacky blemishes and tapered all the places where the glass cloth would overlap.


Then we laid the cloth over the other half of the bottom and the remaining side and applied epoxy over that.


When this second half of the bond coat had cured, we tapered those edges and the result was quite beautiful.  The texture of the cloth was clearly visible, so the next step is the fill coat.

You'll notice there are few photos of us actually working this work day.  Uh, no surprise.  We were definitely eyes on the prize in order to get this done in a way that didn't suck.