Showing posts with label bolts. Show all posts

Motor Well, A Mini-Project Unto Itself

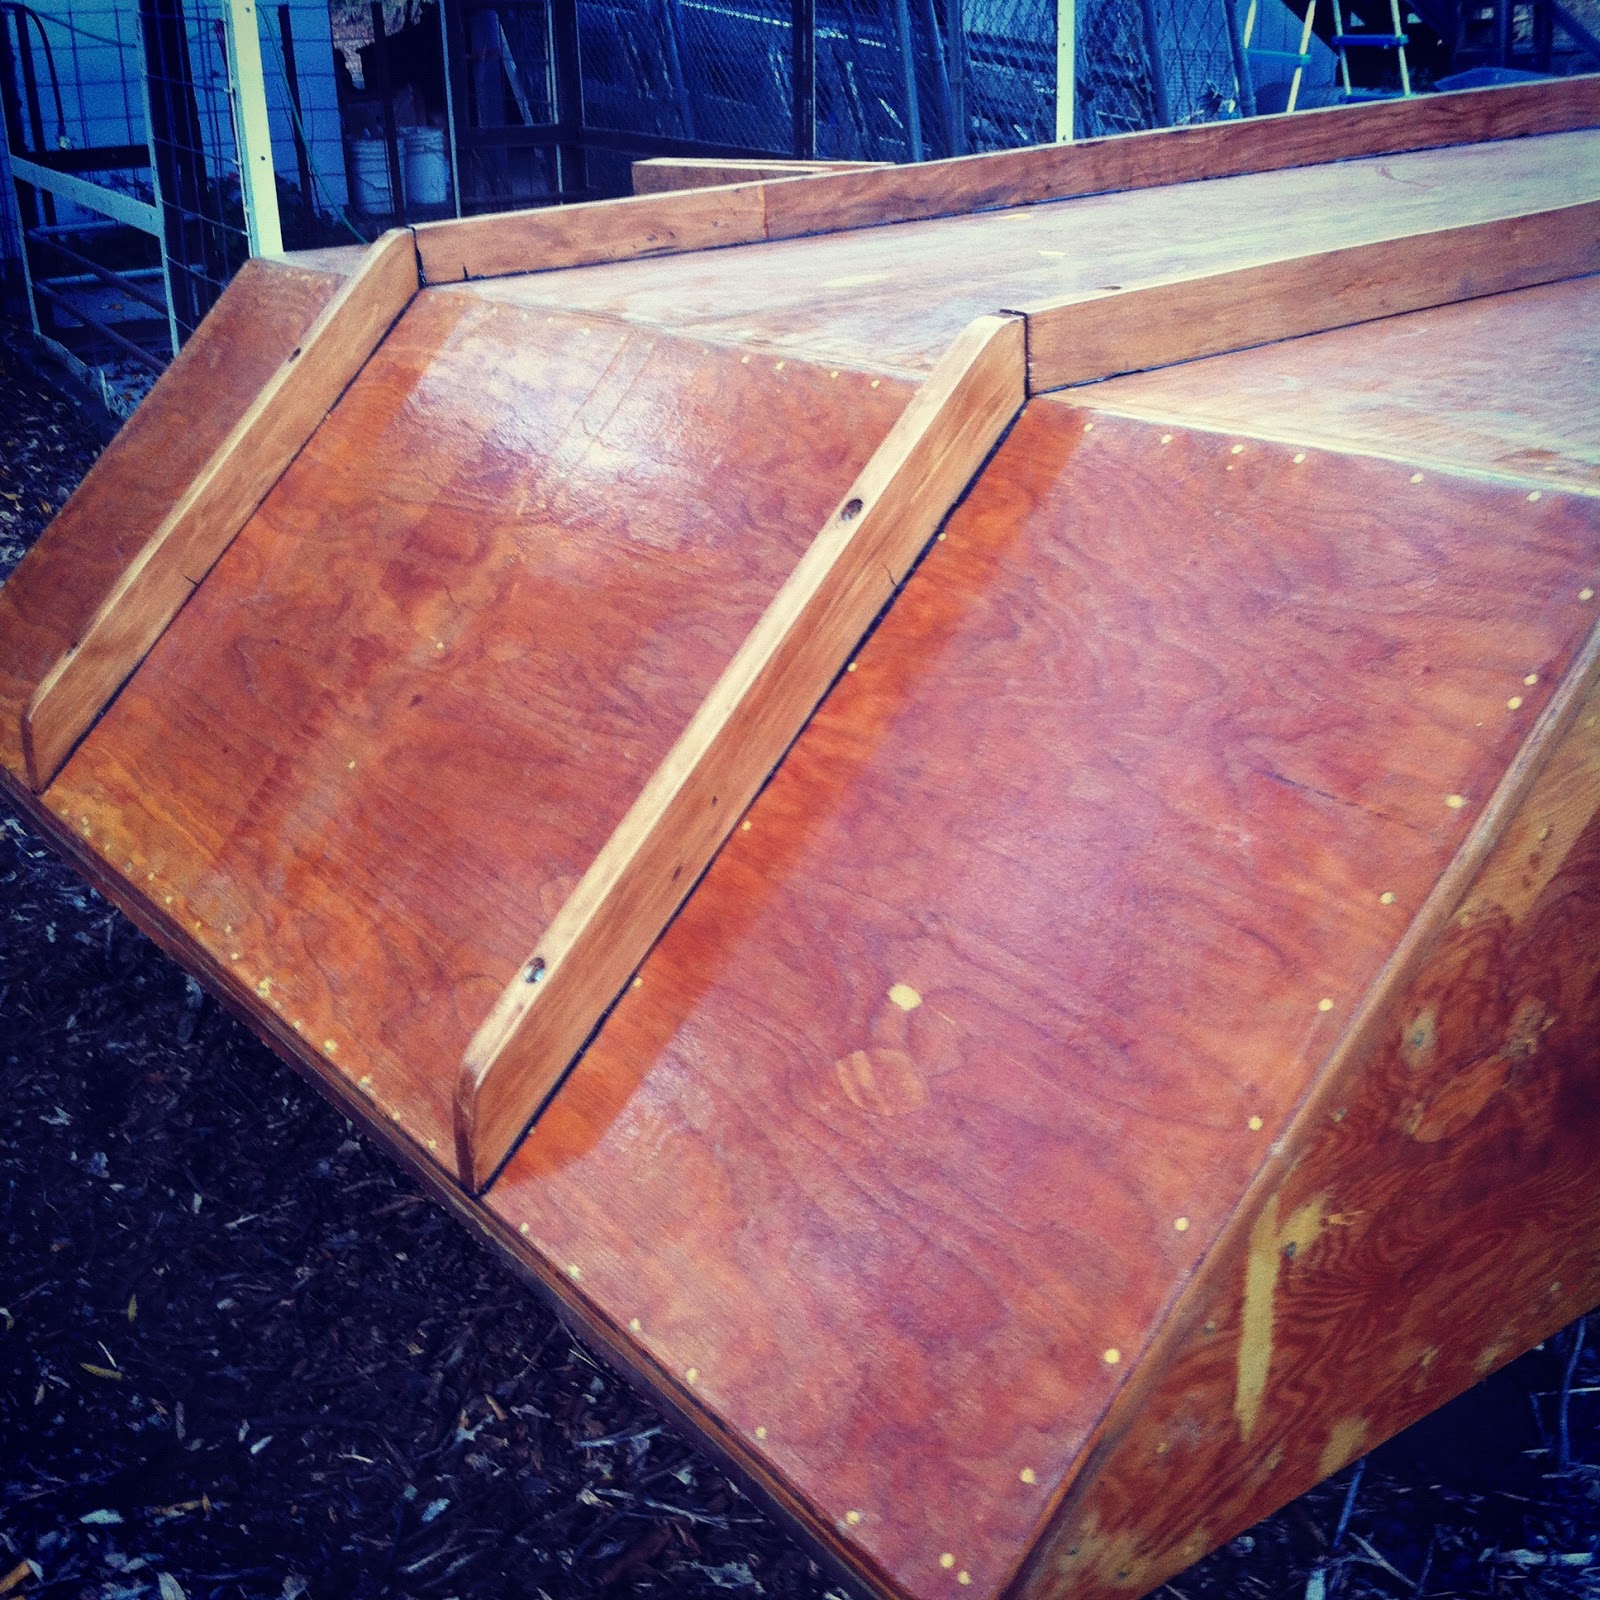
Oh, the motor well.  Seems simple enough.  Build a box that bolts to the back of the boat, upon which the motor clamps.

I've been working on the motor well since the days of the Troublesome Skegs and before the Boat Flip.

Turns out that though this earns only a brief paragraph in the Glen-L Waterlodge instructions, it is really quite time consuming.
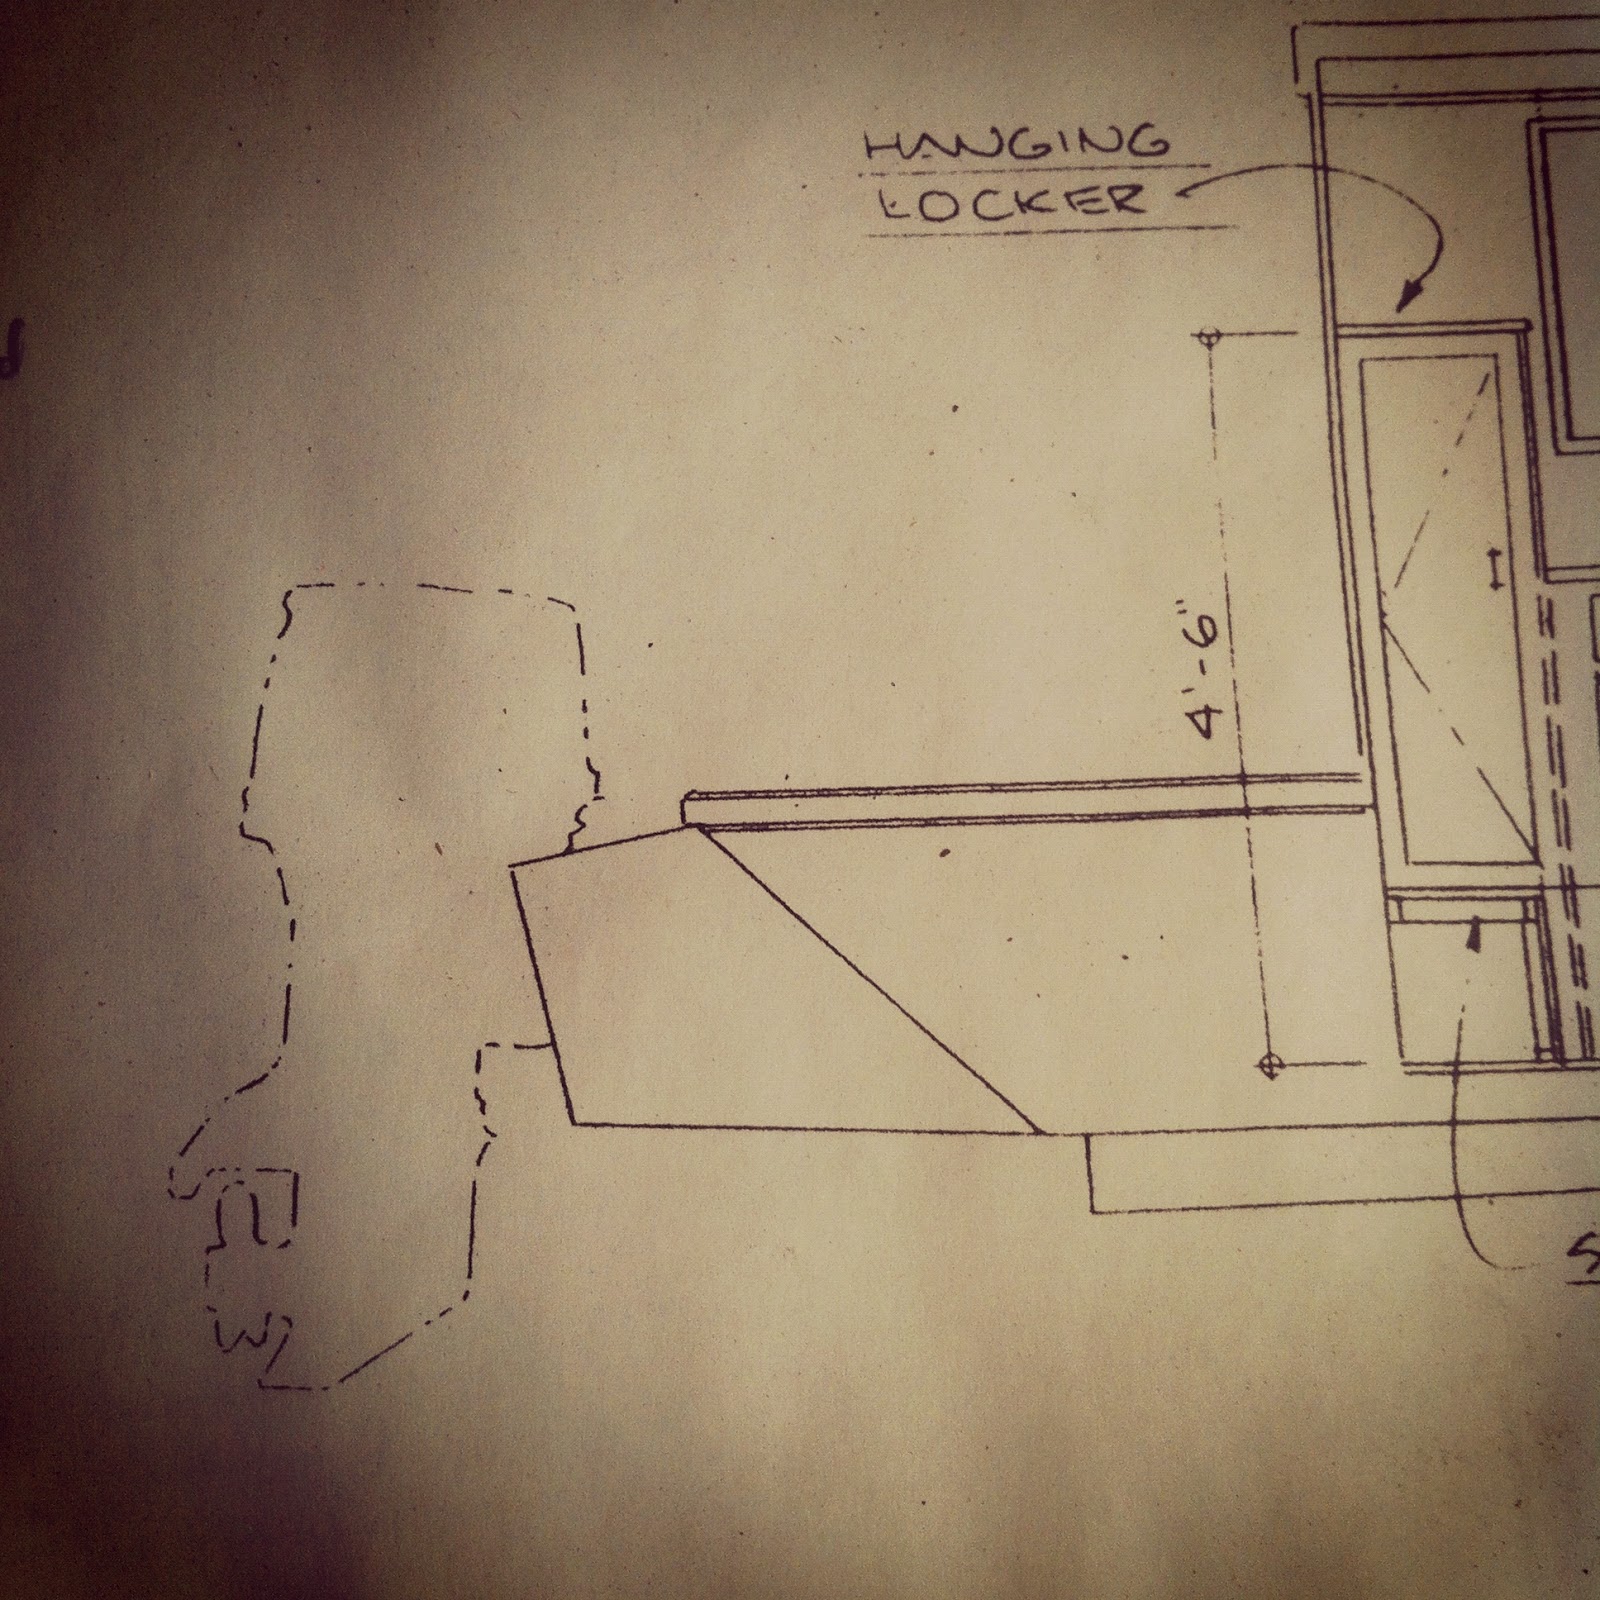


And though the motor well shows up on various views in the plans three times, it still leaves a lot of unspecified dimensions. Despite a lot of fancy maths including tangents and the Pythagorean theorem my first effort to suss out the missing dimensions and angles was a loose collection of mismatched angles and incorrectly cut two-by stock.


The challenge of the motor well is that there are few right angles, several that are very close, but not quite 90 degrees, several similar obtuse angles and some crazy acute angles. The difficulty lies in translating perfectly good angles and lengths to actual measurements and cuts.


My second attempt -- salvaging as much of the previously cut wood as I could -- discarded the mathematical approach and did it the way a carpenter would. Rather than cutting the two-by stock first, I marked out the known angles and measurements on plywood, solving the unknowns as I went along.  I cut out the 5/8" plywood giving me a useful template that would be used for the sides of the motor well.  Finally, I measured and marked the two-by members to match the template. Magic!


After fitting everything best I could, I epoxied everything together to give me two assembled sides to the motor well.


This was a logistical challenge similar to assembling the side stringers -- you want to align the two-by members facing up, but the screws need to go in from the other side.  In this case, the motor well sides were small enough I could assemble the two-by members facing up on saw horses, then put a few screws in from the bottom to hold them together.


After that, I flipped them over and screwed the shit out of them.  All done while everything -- drill, screws, wood, hands -- are covered in sticky goo. Fun!


I completely encapsulated the wood inside the motor well with epoxy to protect it from decay.


I know from experience assembling boxes, it is easy to discover in the end that you've created a parallelogram that doesn't fit your last side.  How to prevent this?


I temporarily screwed the bottom on the motor well to square up the sides before assembling the rest of the box.  I'm using wax paper to prevent the epoxy from accidentally adhering the bottom.  In fact, the bottom won't go on until after the motor well is already bolted on to the hull to allow me access to the bolts.


Now, I can go ahead and epoxy and screw on the back and the framing members.


We have to bolt this thing in with 5/8 carriage bolts no greater than six inches apart.  Turns out that's a lot, really.


I marked the bolt holes and drilled from the outside of the motor well using a carpenter's square to get holes perpendicular to the rake of the hull.


Sixteen bolts for this 2 foot square box hanging off the back of the boat.


The heads of some of the carriage bolts would fall on angled members, and so needed to be countersunk.


I needed to temporarily hang this thing so I can mark the bolt holes on the hull.  I built a little support jig that took into account the missing bottom piece.


Here is the motor well on the boat.  Fancy.


Using a wax china pencil, I marked the bolt holes for mounting the motor well.


It seemed like madness to drill 16 holes in my previously watertight boat hull.  Soon, we'll finish the outside of the motor well and bolt it on.

And now back to the trailer

Remember the trailer? This one, the one that almost killed us?


We left the shantyboat hull pretty complete. Now that the boat is ready to be flipped, we turn our attention back to the trailer.

It is really a rusty, janky old thing. I've owned it for fifteen years or so, or sorta owned it since I bought it with Sean for our Burning Man theme camp, the Costco Soulmate Trading Outlet. It's been stolen and recovered, broken and repaired on the road. We used to haul that thing back and forth loaded to the gills over the Sierra Nevada Mountains, taking our lives into our own hands. Then we realized that if we stored it in the desert, we could save wear and tear on our mortality. So there it stayed for about ten years.

When the camp realized it could buy a shipping container and have it dropped off at their campsite every year without the hassle of dealing with That Trailer, the poor thing got abandoned for a few years out in the Nevada wilds. You remember that I drove out to the desert with Alex to rescue our friend the trailer, a trip with nearly fatal results.

So here it is, a 20 foot flatbed, maybe suited to my shantyboat, maybe not, needing suspension work, a coat of paint, deck repair, and maybe some repair welds.


The first thing I did was fire up my cutting torch and cut off the weird distinctive triangle things, and ground down the cuts. I always assumed they were there as a token gesture to structural reinforcement.


I replaced all the deck bolts that had rusted through, grinding off and replacing any that had loosened. The deck needed about 50 new bolts. This alone made the deck much more stable.


I gave all the metal on the entire trailer, top and bottom, a new coat of Rust-Oleum. I had to get suited up to prevent myself from being painted too thoroughly, climbing under the trailer and applying paint overhead.

It looked pretty good when I was done. Though crawling around under the trailer, I saw several places where the metal was cracked, principally around the lateral beam that joined the two pairs of leaf springs on either side.

For a while, I'd been sweating how to make the skids that would hold up the boat. I considered using recycled railroad ties since I could get them for free at the local trainyard, but their height and condition were too inconsistent. Eventually I got a ridiculous deal from a friend at the local lumberyard who found me some 6x6 treated lumber seconds that had a barely perceptible twist or were split a bit at one end.


I positioned the skids so one set would lie just inside of the skegs, and the other set so they lay at the outside edge of the trailer, as far out as could be secured. I figured this would support the boat along the stringers as well as give it side-to-side stability, something I thought would be extra important as we were trucking down the highway.


I drilled bolt holes through the skids and into the support brackets under the trailer.


I put big long 8 inch carriage bolts through the skids. For extra measure, I painted the bottom and tops of the carriage bolts. Lawrence joined me for a bit and serenaded me with excellent banjo tunes.


To prevent the skids from damaging the surface of the hull, I chamfered the sharp edges of the skids with my skill saw.


I cut the ends of each skid at an angle to guide the skegs while the boat was being trailered. Though honestly, I don't think the skegs at the back of the boat will be anywhere near the skids, since that end of the trailer will be deep under water and the back of the boat high above it during a boat launch or trailering. But it seemed like a good idea.


Then I covered the skids with indoor/outdoor low-pile carpet, stapling and using roofing nails at the edges.


The result was surprisingly legit looking.


Then Jen and I sat on the trailer and had a beer.  Something about this trailer makes you want to sit on it and have a drink.  What's that about?

Next, the superhero of heavy duty welding flies the trailer high into the sky and melts it with his heat ray vision!


Those Troublesome Skegs, Mistakes Were Made

So the skegs have been cut, spliced, drilled, countersunk, stained, and finished. Now we only have to mount them. Easy, right? Ahem.


I looked for a long time to find just the right sealant and adhesive for the skegs. They get bolted down of course, but you have to seal them really well, both to adhere them and to keep water from creeping into the bolt holes. You want something that is flexible, waterproof, low adhesion (since you don't want to tear the boat apart if you need to replace the skegs), and won't cost an arm and a leg.

They had something that would probably have worked at the local marine supply place.  But I was suspicious that they turned me upside down and shook out my pockets to see how much money I had when I walked in. Everything there was ridiculously expensive. They sold tubes of standard window caulk for $20, the same stuff you can get at the hardware store for less than $5. I went to the internets and found something that fit the bill for much much less.


As a former contractor, I've used caulk a lot. You apply a modest bead of sealant and apply pressure, wherein it spreads out nicely along the surface. That was my theory here too.

I mounted both bottom skegs before I realized that the caulk was not cooperating.  The thick sealant didn't really spread and remained as a modest bead.  I put all the bolts in, I had everything together.


At first I thought, eh, it's probably okay.  Then the more I thought about it, a boat with inadequately sealed holes in the bottom was not a great idea. I realized as much as I hated it, I was going to have to do it over.


Removing the skegs was easier said than done.  If this is low adhesive, I'm glad I didn't use anything gnarlier, and I'm glad I didn't tear up the boat any more than I did in my efforts.

I removed the skegs, scraped off the sealant, sanded it down, and refinished.


Then I applied the sealant the way I should have from the beginning, very generously.  


I drove the bolts part way through and set the skegs in place, struggling a bit to line up all the holes.


Then I went under the boat, added washers and nuts, and tightened the shit out of everything.  I struggled a lot with this as some of the bolts were a little too short and needed to be replaced.  And some of the bolts were a little too long and needed to be cut. This time the sealant went squish out the sides like it was supposed to.


The bottom skegs met up nicely with the forward skegs.


The result was a much more boaty looking boat.

The last thing I need to do is a little finishing work to the countersunk ends of the carriage bolts.