Showing posts with label hatches. Show all posts

New Boat Vocabulary Word: Coaming

One of the smarter things I've done on the shantyboat, was to add a coaming around the edge of the cabin. A new vocab word for me as I slowly get all nautical during the one plus year shantyboat build:

coam·ing  

/ˈkōmiNG/
Noun
  1. A raised border around a ship's hatch serving to support the hatch covers and to keep out water.
  2. A similar structure around the cockpit of a boat.
The Glen-L Waterlodge plans didn't call for a coaming, since Glen's cabin design was significantly different, and he wasn't nutty enough to consider board and batten as a cabin exterior material.

Take a look again at my wall cutaway diagram:


The coaming is the board labeled "edgeboard" against the inside edge of the side framing member.  My goal was to make sure that if water splashed up on the exterior board and batten, that it would not easily get into the boat, more so because I plan to fiberglass right up to and over the coaming.

Here's what it looked like without the coaming.


I had the lumberyard rip a few 2x6s edgewise to create the coaming. 


Of course, I epoxied and screwed it into place.


Later when we fiberglass the decks, we will create a curved filet at the inside corner and curve the fiberglass up over the coaming.

For some reason it strikes me as unusually handsome and boaty.


The Cabin Has a Floor

Let's put in a floor!  This is the floor that will be inside the cabin.


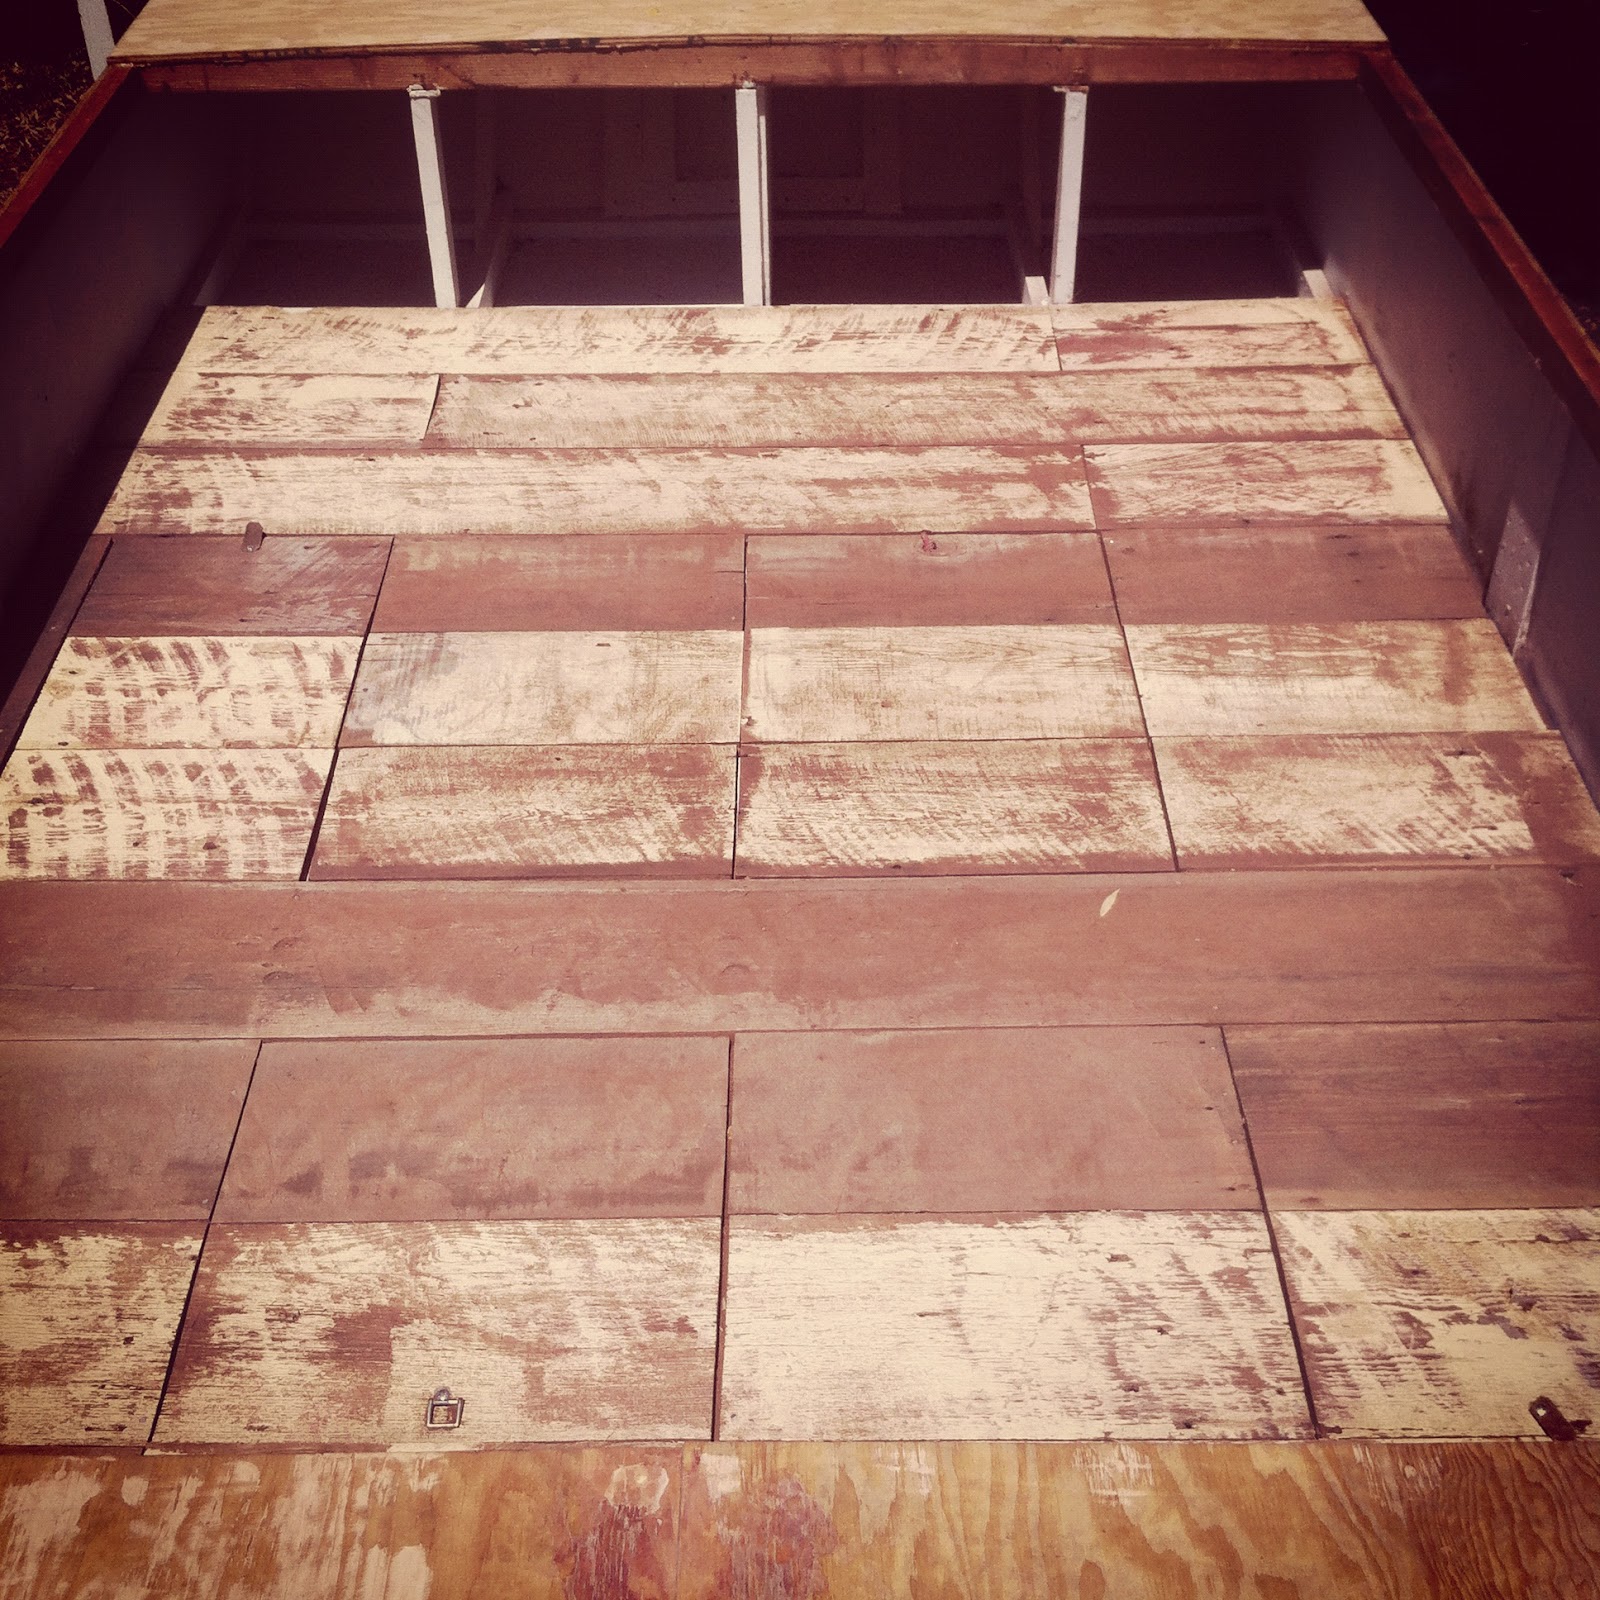
Remember the beautiful old redwood I got from the chicken shed that Jen, Kai, Alex and I salvaged last year? I wanted to use these thick 1x12s for flooring in the boat. The also have the advantage of putting some weight down into the hull of the boat.


I had a worry that using straight boards for floorboards, there would be little cracks between them that would constantly filter dust into the bilge and possible squeak when you walked on them. So I had the idea to route the edges to make them lap each other.


Ten boards, eight foot long, two edges each. That's a lot of routing.


Actually, none of the boards were eight foot long, so they had to go in piece by piece.


I used construction adhesive and exterior nails to secure the flooring down. The adhesive will keep the flooring from squeaking and slowly coming up. Modern construction adhesive is so strong, that when you take up plywood that has been adhered down, it comes up in pieces.


It ended up having a neat look.


I wanted to put hatches wherever I could under spaces that were not occupied by fixed objects such as the head, the galley, and the woodstove. After the first three boards aft, I had to start getting strategic with my flooring installation.


It slowly came together. I tried to make the hatch covers match the surrounding boards best I could.


Here's a really bad idea: Using wood that has been nibbled by termites. Some of the wood when I routed it, not only revealed whole termite empires, but actual live buggies.


I went to the lumber yard and drenched everything in Copper Green. This is a special (and more expensive) clear preservative. By clear they actually mean, kind of a deep amber -- but that's preferable to the bright green of the regular stuff.


After all the flooring and the hatches were in, I attacked it with the belt stander, knocking down edges and leaving the different shades a bit more uniform.


I quite like how it came out. I made mismatched hatch handles for each of the four hatches. Can you spot all four?


Here's one of the adorable little hatches open.