Fancy Pants New Renderings

Since I originally made my 3D sketches of the shantyboat, a few things changed, a few things forgotten about were remembered, and I've learned a lot about the boat's construction. I wanted to reflect those changes in my 3D sketches.


 In these renderings, you can see the addition of the head which bumps out on the aft porch a bit. Also, of course, the motor well and Mr. Johnson have been added.
Less evident is that I positioned the floor correctly 21 inches below the deck. I also resized and repositioned the windows.

Here are colored and textured versions of same.


What you can't see from the outside is the bucket shitter in the head.


There you go. 3D rendering doesn't make anything more real, but it does help me understand some of the challenges I'll face when I start constructing the cabin.

Also, please note that I was unable to find a Queensland heeler 3D model for Hazel, so for now, the border collie continues to be a stand-in.


This is a rendering of you trying futilely to get on the boat while my 3D models callously look on unwilling to raise a finger to help.

UPDATE: I spent a ridiculous amount of time learning how to create 3D components from illustrator files.  New rendering, now with more Hazel dog!


Thinking About Cabin Construction

Now that the boat is ready to be flipped, I'm thinking again about the cabin.  Here's the plan, in general, for the completed shantyboat.


I'd been giving some thought earlier to the cabin layout, but finally sat down and planned everything out using real measurement.


In clockwise order from top left:
  1. Small galley with 2-burner stove and sink
  2. Couch with resident dog and cat
  3. Bucket shitter (entered from the aft deck)
  4. Aft stairs
  5. Lounge chair
  6. Woodburning stove
  7. Table / chairs
  8. Fore stairs
Now lets get down to brass tacks:  Looking at wall construction.


This is the side wall, first a sketchy sketch, then a more accurate one.  Pretty simple really.

It took some thought to place the windows in a vertical position that felt right. The expected window position of the inside and the outside are kind of at odds since the floor of the cabin is dropped nearly two feet below the level of the deck. From the inside, I want the windows to be more or less at eye level and not too high. And from the outside, where the cabin appears to sit on the deck, I want the windows to be a little above the midpoint of the cabin.

I decided on slightly tall windows at 3 ft which resolves the issue to some degree.  Three foot or so from the floor inside and just above the midpoint of the cabin outside.


The original cabin plans call for 2x3 structural members turned parallel to the wall. I originally considered using perpendicular 2x4s in standard frame construction so I'd have natural nooks and crannies between the studs that would be easy to turn into storage.

So I'm kinda confounded on which method I should choose.  I'm trying to measure the pros and cons of each.

2x2 Wall Construction
Pro:
Lighter
Takes less space
Less material
Easy to connect
Con:
Harder to diagonal brace
No nooks between studs
Note:
Recommended by pretty much everyone in the boat community, but feels flimsy to me.
2x4s Parallel with Wall
Pro:
Takes up less space
Con:
Heavier
Harder to connect
No nooks between studs
Harder to diagonal brace
Note:
Makes thinner walls and weirder window openings.
2x4s Perpendicular with Wall (standard framing)
Pro:
Natural Nooks between studs
Conventional technique
Easy to connect
Con:
Heavier
Takes more space
Note:
Standard construction, typical window framing, including sills.
2x3s Perpendicular with Wall (compromise)
Pro:
Natural (smaller) Nooks
Like conventional technique
Easy to connect
Lighter than full studs
Con:
A little heaver than 2x2
Note:
This might be a good compromise. Solid framing with reduced weight.

Hopefully, you'll weigh in with your expert and experienced opinion. Or maybe you'll weigh in with your totally inexperienced pet theory, that's fine too.

After we flip the boat and add the front and rear decks, we'll be coming up on building the cabin pretty quick here.

Welding the Trailer

Timeline: Less than a week before the boat flip! The trailer needs several repair welds to make it safe. The clock is ticking.

I got a recommendation for a welder from the same awesome friend at the lumberyard who sold me the skids. I called the guy on an odd Thursday that I was playing hooky from work, a week before the planned boat flip. He said "Are you there now? I'm just up the road from you."

A few minutes later, he roared in on his Harley chopper, wearing an orange jumpsuit with reflective stripes like a tow truck driver. A big man, white hair in a crew cut, probably in late middle age, who looked like he'd just gotten in a serious bar fight the day before and lost. He introduced himself as Matt and I didn't ask why he had a black eye.

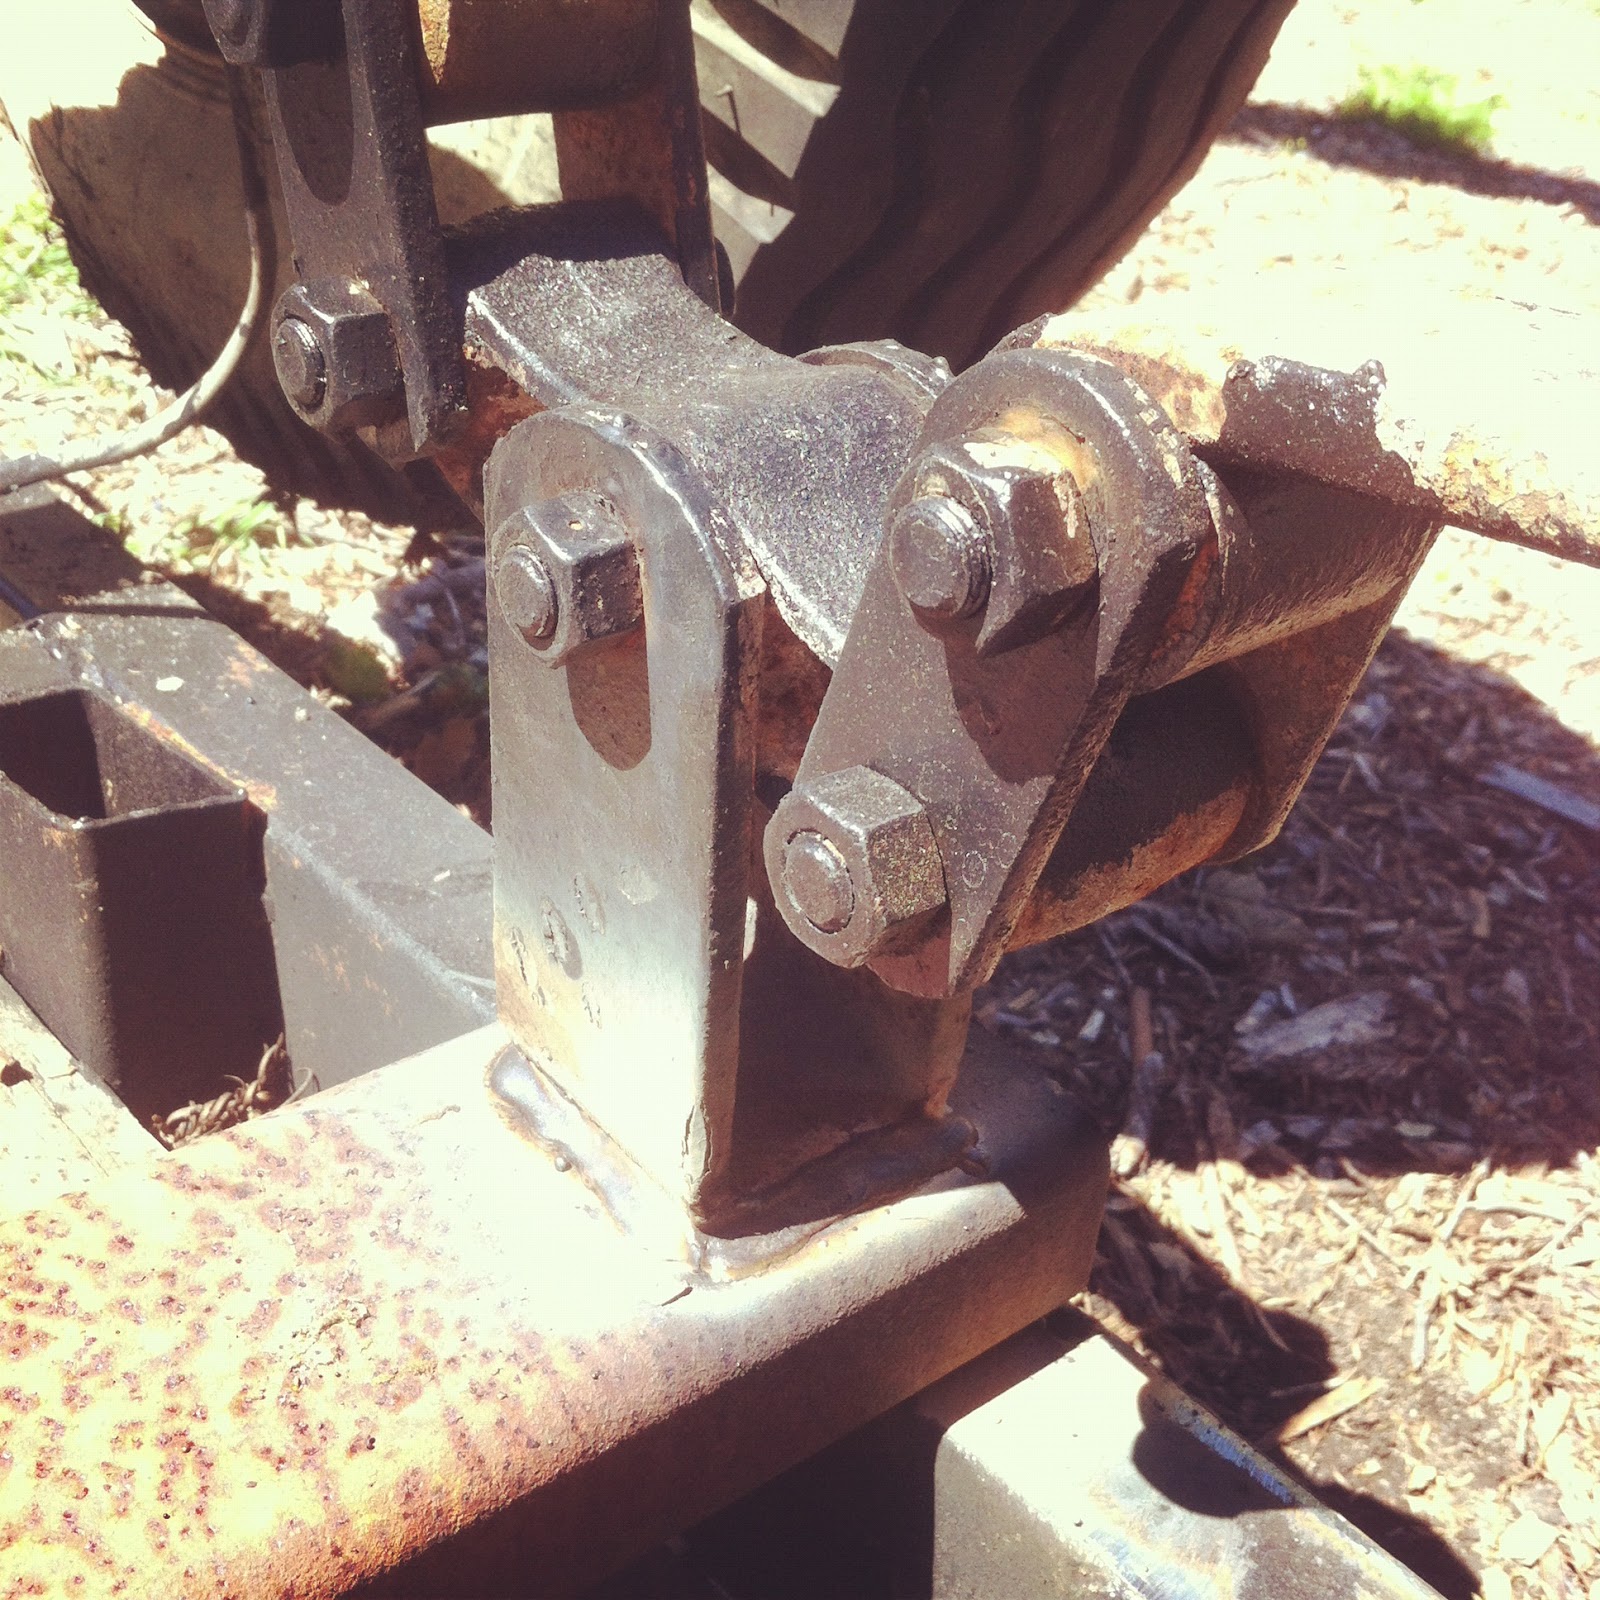
I showed him the breaks on the center lateral crossbeam. He pointed out that there were breaks on both sides of the trailer, basically, in every place where the crossbeam was welded it was stressed and breaking. He noted that the two pairs of leaf springs met at an arm welded to that crossbeam and that it took a lot of stress.

He said it'd be no problem doing the repair welds, but that what he recommended was replacing that crossbeam.  I said, "Now, it's beginning to sound expensive."

"Nah," he dismissed it, "I can flip the trailer with the crane on my truck, cut out the crossbeam, weld in a new one, and flip it back. Probably take no more than a hour. I think that's eighth inch. I think I have some quarter inch square stock on my pile at home."

I was still reeling from all this for a while. No more than an hour? Any one of the steps he mentioned I guessed would take me all day... if I had the proper equipment, which I didn't. We made a date for the following Tuesday.

I imagined that he'd have one of those sad little cherry pickers on the back of a beefy pickup.  I hoped it wouldn't be too laborious and that he'd not too badly underestimated the job.


I was at the boat site on Tuesday when he pulled in with his gianormous truck.  Like Santa, he said not a word, but went straight to his work.


The crane was no cherry picker, but a proper crane with a fancy remote control that Matt deftly wielded.  When he'd said he'd pick up the trailer to flip it, he meant it. Up it went, easy as pie, this enormous 20 foot behemoth tossed around like a toy.

His truck was like Santa's magic sack. He had attachments for household current, compressed air, arc voltage, everything he needed with hoses and cords all neatly coiled on hooks in back.


He flipped it over and immediately started cutting out the center crossbeam (visible in the photos above as a thick black line running between the axles) with a nifty plasma cutter that made my cutting torch blush with envy.


He used the crane to lift while he cut. This took a few minutes or so, with a few sticky parts where the crossbeam was welded better in some places. He mentioned that he was surprised it had lasted as long as it did.

Within minutes he had the old crossbeam out and was cutting the new one to size with a giant chopsaw. I helped him maneuver it into place and he began welding it immediately.  His welds were like beautiful marzipan. They were flawless and elegant.


As he finished a section, I'd attack it with a wire brush and coat the still warm weld with Rust-Oleum.


Having the trailer upside down would have made painting the underside considerably easier. I did use the opportunity to hit any rusted metal I'd missed.

Not content to simple fix the suspension, Matt went over the whole trailer, fixing places on the underside where the trailer was inadequately welded or the original builder had simply failed to weld.

He concentrated for a while on the area where the tongue of the trailer attached to the rest of the trailer: None of the members there has been welded on the underside. "Considering this is where the trailer attaches to the truck, this seems pretty important," Matt said.

When he was all done, the trailer was not simply repaired, but better than it had been when it was constructed. Matt charged me so little for the work, I was little embarrassed. Would that cover the diesel for his truck, the welding sticks he used, the time he made available for me? I hoped so, because he seemed like a really nice guy.

He deftly picked up the trailer and flipped it back over and was on his way.

And now back to the trailer

Remember the trailer? This one, the one that almost killed us?


We left the shantyboat hull pretty complete. Now that the boat is ready to be flipped, we turn our attention back to the trailer.

It is really a rusty, janky old thing. I've owned it for fifteen years or so, or sorta owned it since I bought it with Sean for our Burning Man theme camp, the Costco Soulmate Trading Outlet. It's been stolen and recovered, broken and repaired on the road. We used to haul that thing back and forth loaded to the gills over the Sierra Nevada Mountains, taking our lives into our own hands. Then we realized that if we stored it in the desert, we could save wear and tear on our mortality. So there it stayed for about ten years.

When the camp realized it could buy a shipping container and have it dropped off at their campsite every year without the hassle of dealing with That Trailer, the poor thing got abandoned for a few years out in the Nevada wilds. You remember that I drove out to the desert with Alex to rescue our friend the trailer, a trip with nearly fatal results.

So here it is, a 20 foot flatbed, maybe suited to my shantyboat, maybe not, needing suspension work, a coat of paint, deck repair, and maybe some repair welds.


The first thing I did was fire up my cutting torch and cut off the weird distinctive triangle things, and ground down the cuts. I always assumed they were there as a token gesture to structural reinforcement.


I replaced all the deck bolts that had rusted through, grinding off and replacing any that had loosened. The deck needed about 50 new bolts. This alone made the deck much more stable.


I gave all the metal on the entire trailer, top and bottom, a new coat of Rust-Oleum. I had to get suited up to prevent myself from being painted too thoroughly, climbing under the trailer and applying paint overhead.

It looked pretty good when I was done. Though crawling around under the trailer, I saw several places where the metal was cracked, principally around the lateral beam that joined the two pairs of leaf springs on either side.

For a while, I'd been sweating how to make the skids that would hold up the boat. I considered using recycled railroad ties since I could get them for free at the local trainyard, but their height and condition were too inconsistent. Eventually I got a ridiculous deal from a friend at the local lumberyard who found me some 6x6 treated lumber seconds that had a barely perceptible twist or were split a bit at one end.


I positioned the skids so one set would lie just inside of the skegs, and the other set so they lay at the outside edge of the trailer, as far out as could be secured. I figured this would support the boat along the stringers as well as give it side-to-side stability, something I thought would be extra important as we were trucking down the highway.


I drilled bolt holes through the skids and into the support brackets under the trailer.


I put big long 8 inch carriage bolts through the skids. For extra measure, I painted the bottom and tops of the carriage bolts. Lawrence joined me for a bit and serenaded me with excellent banjo tunes.


To prevent the skids from damaging the surface of the hull, I chamfered the sharp edges of the skids with my skill saw.


I cut the ends of each skid at an angle to guide the skegs while the boat was being trailered. Though honestly, I don't think the skegs at the back of the boat will be anywhere near the skids, since that end of the trailer will be deep under water and the back of the boat high above it during a boat launch or trailering. But it seemed like a good idea.


Then I covered the skids with indoor/outdoor low-pile carpet, stapling and using roofing nails at the edges.


The result was surprisingly legit looking.


Then Jen and I sat on the trailer and had a beer.  Something about this trailer makes you want to sit on it and have a drink.  What's that about?

Next, the superhero of heavy duty welding flies the trailer high into the sky and melts it with his heat ray vision!


The Talented Mr. Johnson

For a while now, my cousin Brian has been wanting to introduce me to Mr. Johnson. He's had Mr. Johnson living with him for a time and thinks he'll be just the person to help get my shantyboat project going.


I'd been thinking about powering this little craft, particularly as I put the finishing touches on the hull. There is a place in the plans where an outboard is drawn in dotted lines like a ghostly visitor in comics. I even started working on the motor well, the little box that gets attached to the stern of the boat where the motor attaches.


So I started asking acound, Anyone know of a good cheap outboard, just a little thing that might push my little barge boat around?

Cousin Brian was dying to introduce me to Mr. Johnson.  Here he is.  He's a 9.5 HP outboard. I forget what year. Mid 70's, I think.


Brian thought he should come live with me. He demonstrated Mr. Johnson's prowess in a barrel of water in the driveway of his suburban home. Mr. Johnson revved and smoked and burbled just like a good motor should.


Brian -- who is a master of boats and outboards and fishing and BBQs and other manly stuff -- taught me some of the things I need to know about Mr. Johnson. He had me take a photograph of the correct oil Mr. Johnson wants mixed with his gasoline, though I immediately forget the proportions.


And I need to get me one of these: A gas container with a fancy attachment doodad.


Here Brian poses with Mr. Johnson, demonstrating, the people he thinks will be drawn to my hillbilly shantyboat.


I think he might be saying in a hick drawl:  "Hey, Cleatus, you gotta take a look at this. Ain't that the durndest thing?"

Those Troublesome Skegs, Finishing Touches

So the skegs are mounted, but the carriage bolt countersinks are still there.  Let's fix that.

I bought a hardwood dowel of the same diameter as my countersink holes.  Happily, the grain ran crossways the length of the dowel, making sweet little plugs when I cut little coins off the end.

A story in pictures.


So glad to be done with the skegs. Here's how the process left me feeling...